Wednesday, April 26, 2023

A Retreat and an Embroidery Jackpot!

 The week of April 17 I got to spent time in Tennessee with some of my quilting friends. Twice a year we meet and have a retreat at a friend's house in Crossville. What a wonderful time we had! I finished binding a bargello quilt, a toddler's quilt, a bed scarf or bed runner, and three table runners. I also did some hand quilting on an art piece I have started.

(I'll show you all these pieces when I get my grandson to hold them up for me to photograph.)

The picture below shows you the "haul" I took home. I have the MOST generous friends. They knew that I had really enjoyed working on my latest embroidery piece and wanted to do more. They gave me LOTS of goodies. Check these out. I went home with...
a box of silk threads,
a box of wool threads,
a box of row numbers,
a box of metallic threads,
a box of miscellaneous threads,
a bag of embroidery floss, and a box of various variegated threads.
I have to tell you; it was like Christmas! I have already set some threads aside, along with a piece of fabric I have "marbled," to work on when I'm traveling or need an easy take-along project. (I'll show you that later.) What a lucky girl I am! Thank you Pam and Berniece!

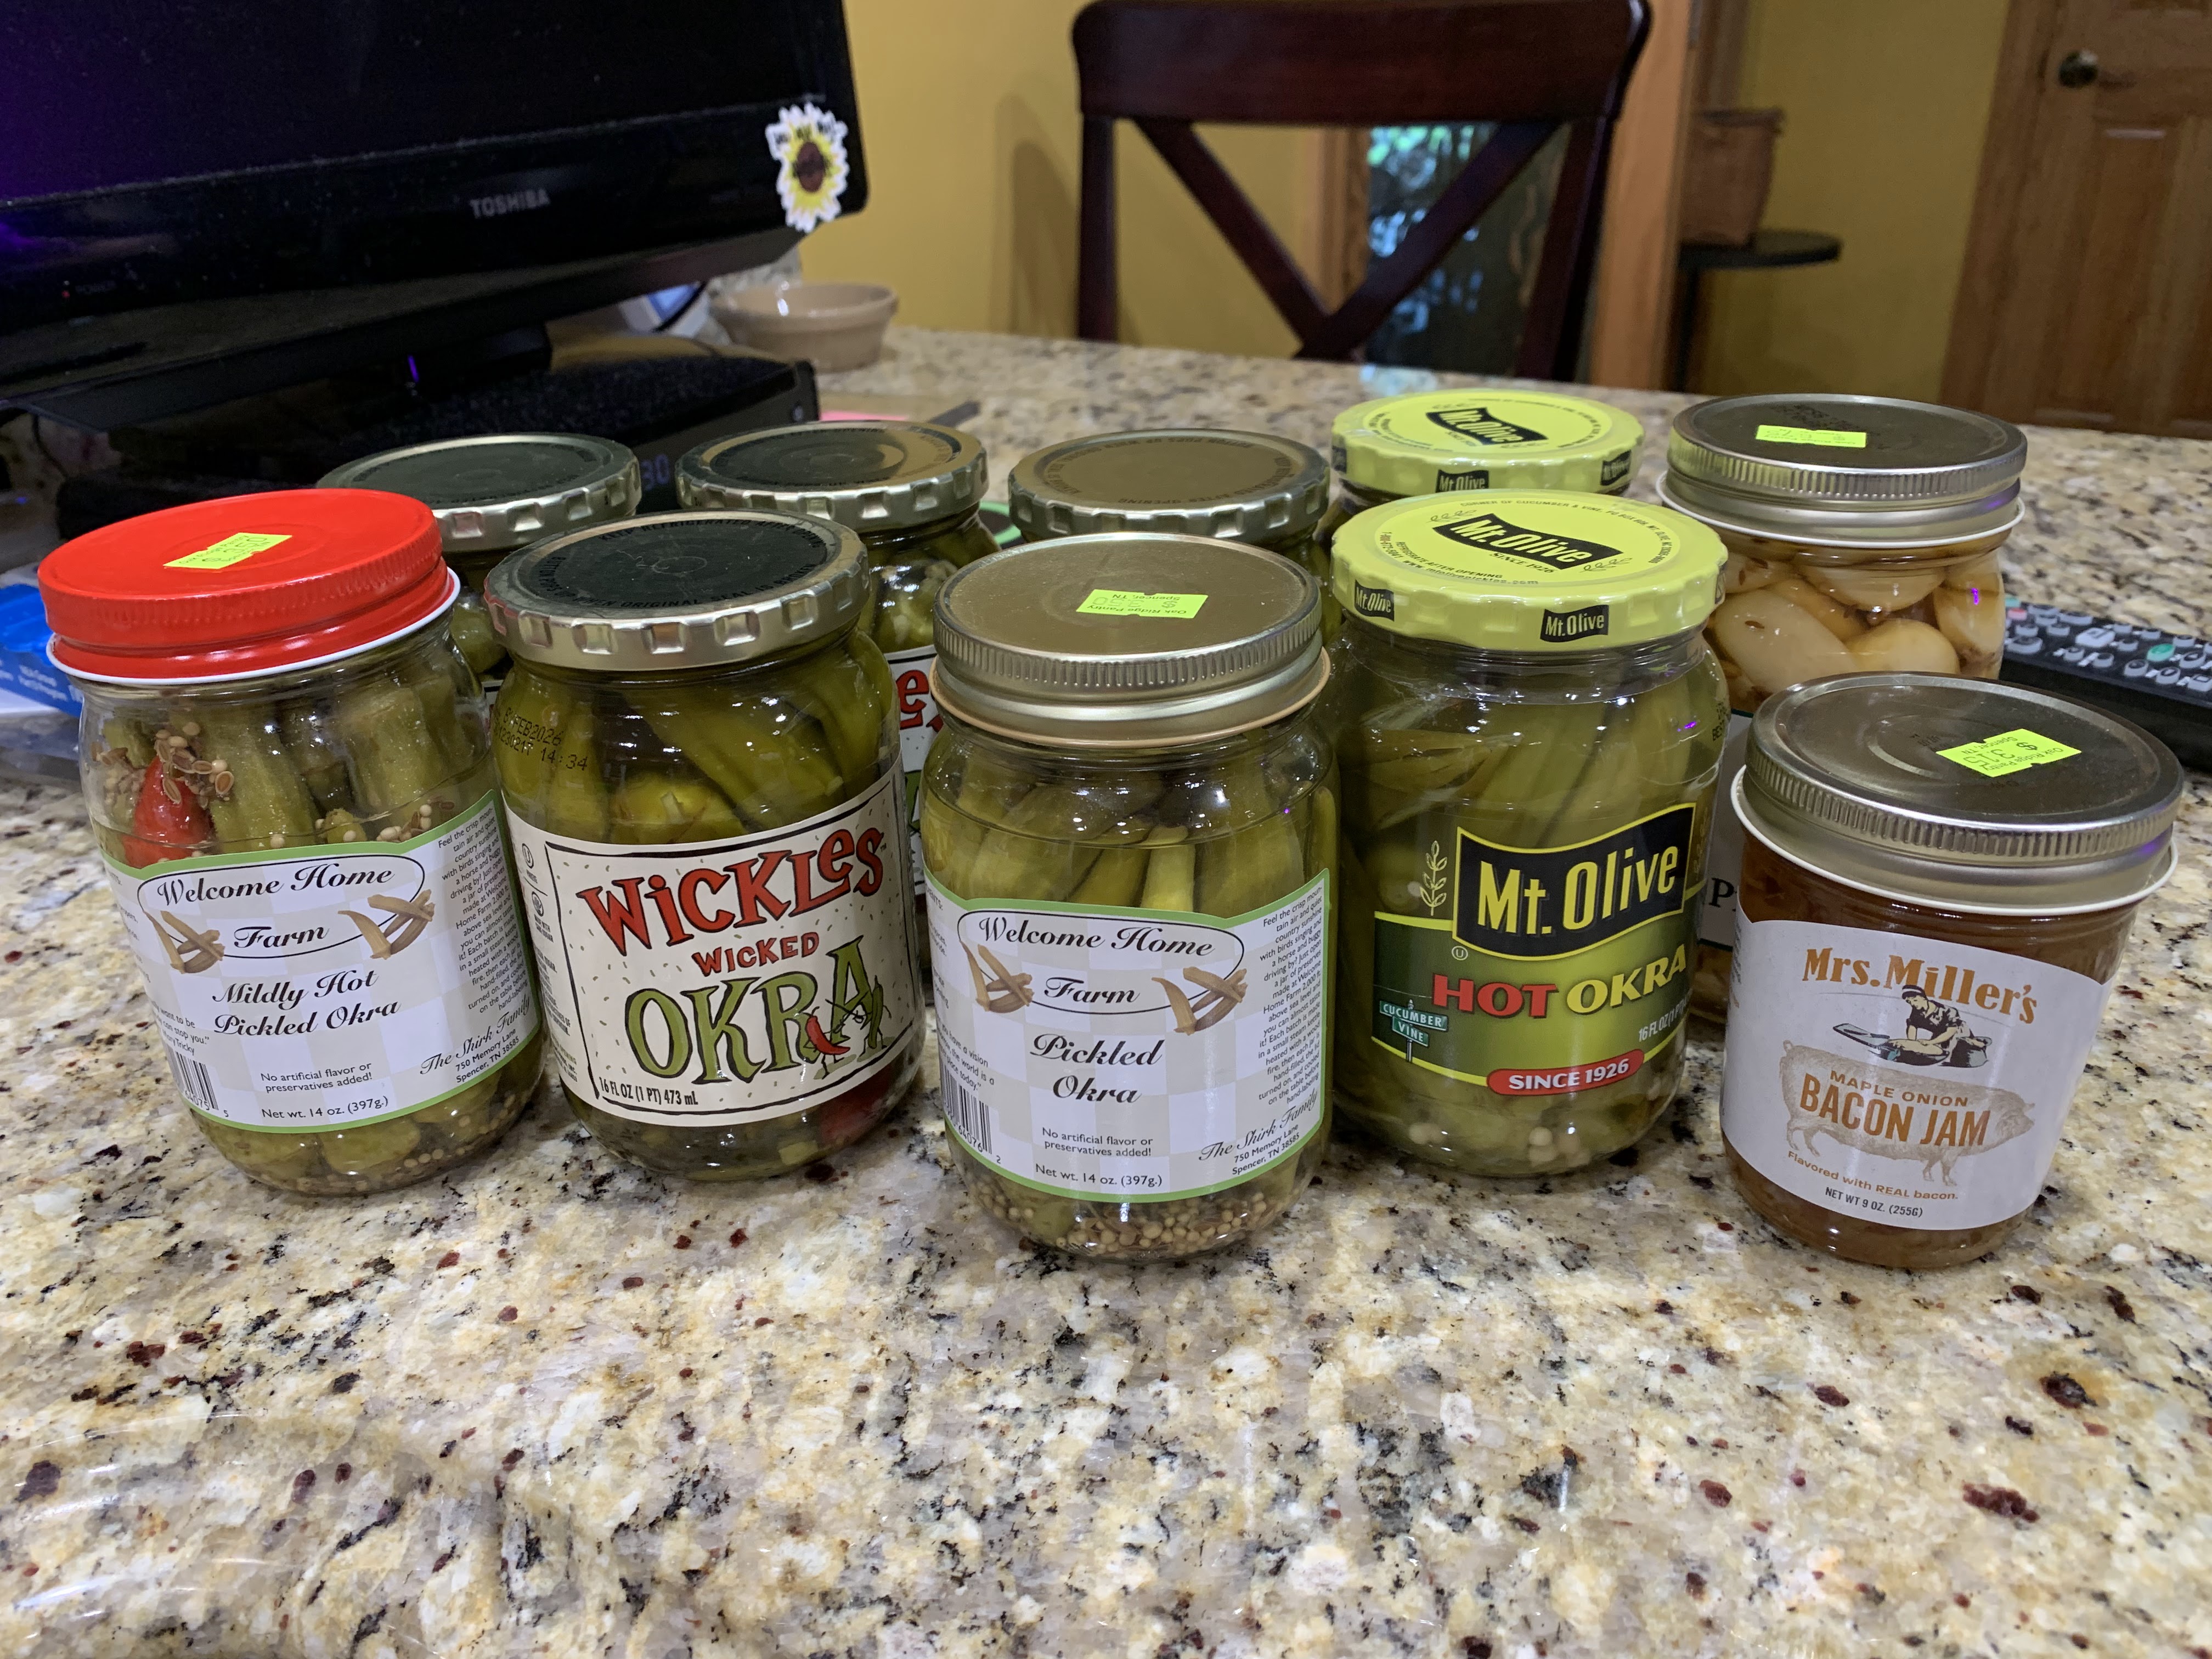
I don't know about you all, but I love pickled okra. I can't get it where I live in Indiana, so I picked up a jar or two while I was in Tennessee. I also grabbed a jar of sweet garlic and some bacon jam. I think I have enough to last me a little while!

As you can see, the "girls" were REALLY happy to see me when I got home. (They are both on my lap in this picture. Libby (my 19 year old) likes to be way up on me by my neck. Macy (my youngster) takes up my entire lap.)

Don't you just love spending time with your quilting friends AND your furry friends. 

Monday, April 3, 2023

Finishing Up Some Things and a Visit

I have been finishing up some UFOs while practicing quilting on my new Bernina Q20 sit down long arm machine. I need to get A LOT of practice in before I attempt to quilt my two Phoenix art quilts. I DO feel like I’m getting better, and I’m feeling more comfortable on the machine.

This is my latest finished work. I had made the table runner awhile ago, but got it layered, basted, and quilted before I left to visit my sister and my son’s family last week. (I finished the binding while I was gone.)
 
You can see the quilting a little better in the photo below. I’m thinking this is the type of quilting I may be doing on my Phoenix quilts.
 

Speaking of my son’s family…
June Beth had a good dance competition. It has really helped her to gain confidence and be more outgoing. She’s become quite a good little dancer.
Asa is enjoying dance too. He’s excited to get to be “Jack” in their “Hit the Road Jack” dance. (He’s the only boy. I don’t think this is his “Jack” costume.)
Sebastian, my oldest grandson, turned 20 while I was there. It’s hard to believe he is SO grown up. He’s a REALLY good young man. I’m very proud of them all.


Monday, March 13, 2023

Tie Kawandi-Inspired Quilt

For those of you who know me, you know I lost my husband (Nate) in June of 2019. Last September, I started a quilt made with his silk ties and some of his shirts using a method I have dubbed "kawandi-inspired." It is sort of like appliqué and quilt as you go combined. The size is decided up front; this kawandi measures approximately 60" X 70".

In my kawandi, the ties and shirts serve as a metaphor for my husband's life, each piece representing a different chapter in his story. By bringing them together in this way, I am creating a new narrative that honors his legacy and the impact he had on my life. As I worked on this kawandi, I found comfort in the rhythmic process of stitching. It was a way for me to reflect on Nate's life and our time together while also creating something beautiful and meaningful.

In this first picture, I have circled in yellow the center of the quilt I have yet to finish. Can you find the five full ties I used? They are distributed all around the kawandi.
Here, I have a closeup of what I decided to use in the center to complete the kawandi. I just have it pinned on at this point. (I don't usually pin anything when I'm working on a kawandi, but the silk pieces slip and don't stay in place without the pins.)

The next pictures are closeups of different sections of the tie kawandi.

In this first picture, you can see that I have used some of the labels from the shirts and ties. I have also included pieces from the shirt sleeves (the navy section with the button in the center). I stitched around the button portion to highlight this piece. The light purple piece on the right-hand side includes the pinkish loop that was on the inside of one of the ties. You can also see some buttons on that purple piece.
In this picture, you can see that I used the triangular portion from the bottom of some of the ties. The navy piece with the buttons is from the cuff. I wouldn't recommend using that piece--I had to sew through thick interfacing to attach it--not fun!
You can see the J. Garcia label here. The navy piece includes a tikli (a decorative piece on top of a larger piece of fabric).
Here is another piece of a cuff from one of Nate's shirts along with a shirt label.
This is one of my favorite pieces. It is from the back of a shirt and includes a pleat, label, and size.
I included some shirt pockets, too. You can see how I stitched it differently to call attention to this special piece.
Making this kawandi was a deeply personal and emotional journey for me. Each tie and shirt has a unique story and history, and incorporating them into this piece allowed me to preserve and honor those memories. Ultimately, this kawandi-inspired quilt is a tribute to my husband's life and the love we shared. It is a testament to the power of art to heal and transform.
 

Thursday, February 23, 2023

Myriad Interpretations of Language Project

Awhile ago, Sam Hunter put out a call for some blocks for a quilt she wanted to make. I thought it was doable for me at that time, so I decided to make a block. This is the idea she shared with us—“I invite you to stitch a block, following some very simple instructions. The project is to interpret the instructions the way YOU think fit; there is no right or wrong. Once I put the collective collaboration together into one piece of art, my hope is that it will illustrate the concept: that there are a myriad of ways to interpret the same language.” She told us that she planned to assemble the blocks into a quilt and submit it to various quilt and fiber art shows, starting with QuiltCon 2023. 

We were instructed to cut a solid-colored cotton fabric measuring 6 inches square. (She didn’t tell us what color the block needed to be. She let us decide.) We were told to embroider a line on the fabric using a contrasting thread. Then, we were to choose another color of thread and embroider a second line that crosses the first. We were left to interpret the instructions however we wanted.

Sam shared with us that the quilt WAS juried into QuiltCon into the Group Quilts category. We saw the first image of the finished quilt this week. This is the first block (upper left corner of the quilt).


The picture below is a picture of the whole quilt. The instructions said nothing about the color of the fabrics to use, and look at how she stitched them into a glorious color wash. I love how it turned out. (My block is on the bottom row to the left of the butterfly block.)

This is a closeup of the block I made.

What a fun experience! (If you are attending QuiltCon and you see the quilt, let me know what you think.)


Tuesday, February 21, 2023

It Has Been a Minute!

During the pandemic, I took a kawandi-making class and made this piece. It is called "The Days Run Hot and Cold." That is how I was feeling at the time. I made lots of "mistakes" with this first kawandi. I didn't know how to judge where to add my pieces, so some of the seams were not secured as they needed to be. That "mistake" led me to adding some embroidery onto the surface. I ended up thinking it wasn't a mistake but a learning opportunity. I learned that I liked embroidery on my pieces.

My next piece is called "166 Days" representing the time I didn't get to see my grandchildren. I was feeling pretty black/white/gray! The spots of color (made with sari silk ribbon remnants) represent the times I DID get to "see" them via FaceTime. Some closeups are below. You can see the marking of time--the embroidered hashmarks on the surface. There are 166 hashmarks. All of the stitching is by hand.


I was so excited about making these little pieces (ranging in size from 18" square to 22" square) that I thought I'd start experimenting to see what stripes looked like. I thought this one was a "happy" looking piece. It made me smile, and I needed that.

Then, I thought, "How would it change the piece if I incorporated solids with the stripes." I still liked it, but it didn't change the looks as much as I thought it would.
Then, I decided I wanted to do a piece using ironed silk sari ribbon--all VERY narrow pieces. BIG MISTAKE! I love the look of the piece, but it was a real pain (literally) to do. The silk was SO hard to sew through that I injured my wrist. (It even dulled several needles!) My wrist was so wrecked that I couldn't hand stitch for a month and a half.
As many of you know, my husband died in 2019. I thought I'd do some "memory quilts" using his polyester ties from the 70s and 80s. (He had been a coach and had quite a few "wild" ties.) This is the first. I called it "Close Ties."

 This next one is one of my favorites. It is called "The Man Loved Brown." He did! I really like the unplanned partial spiral I got from the improv piecing.
I have some more Siddi/kawandi/inspired pieces to share with you. I'll save those for another day. I have to see if I can even remember how to publish a new post and figure out how to get it to you. Let me know if you still even read blog posts.

Sunday, November 8, 2020

Still Making Masks--Mask Pattern for Men with Big Beards

 I never gave it a thought that men with large heads and huge beards might have trouble finding masks that fit them. Well, that problem DOES exist. My niece recently contacted me to ask if I could make a mask for her husband. She said that when he wears a "regular" mask he looks like he has a duck bill and his friends are giving him a hard time about it.

I began the search for a pattern I might be able to use for him. There are a few out there, but I found this one to be the one I liked the best. If you need to make a mask like this, this is the pattern link--PATTERN; PATTERN INSTRUCTIONS. (You get a message when you click this--something about redirecting to a page. Click on the link, and it will take you to the PDF pattern.) This is the instruction video--VIDEO. (Watching this video made it A LOT easier.)

Here is the pic of Adam with the new mask. (He said he didn't want to mess up his beautiful beard, so he didn't put it inside the "beard pocket.) LOL!


Problem solved!

(I am not making masks for the general public. Do not contact me about making masks. I'm all masked out!)